Planning a party can be both exciting and overwhelming.
When it comes to planning a celebration, setting the tone with a stunning DIY party backdrop is an excellent way to go. Not only does it provide a fantastic photo opportunity, but it also seamlessly integrates your party theme. For those considering a DIY approach to their party backdrops, this can be a game-changer. By creating your own custom backdrop, you’ll not only save money and time but also add a personal touch that will make your event truly unforgettable.
Unique Touch
By crafting a custom party backdrop, you infuse your unique personality and style into the celebration, making it a truly unforgettable experience for your guests. Whether you’re hosting a milestone birthday, an intimate bridal shower, or a joyous baby arrival, your DIY masterpiece will perfectly capture the essence of the occasion.
As your friends and family gather around, they’ll be impressed by the thoughtful attention to detail and the extra effort you’ve put into making the event truly special.
Tailored Themes
If you’re someone who loves customizing every aspect of a room’s aesthetic, DIY backdrops are the perfect way to unleash your creativity. With the freedom to choose from an endless array of colors, patterns, and themes, you can create unique spaces that reflect your personal style. Whether you’re envisioning a cozy rustic retreat or a vibrant tropical oasis, the possibilities are truly limitless.
Budget-Friendly
A key benefit of DIY projects is the potential for significant cost savings. One area where this advantage becomes particularly apparent is in the creation of high-quality party backdrops. Store-bought options can be pricey, but with a little ingenuity and some affordable materials at your disposal, you can craft a truly impressive backdrop without sacrificing style or breaking the bank.
How to Create Your Own DIY Party Backdrop
Step 1: Choose Your Theme
To kick off your party planning, define a clear theme that will serve as the foundation for your event’s visual identity. This theme will influence your color palette, material choices, and overall design direction. Envision a whimsical fairy tale or a sophisticated modern setting – having a distinct concept in mind will streamline the decision-making process and ensure a cohesive look.
Step 2: Gather Materials
To bring your theme to life, start by collecting the essential materials. This might include: cotton, tulle, or burlap fabrics for a whimsical touch; paper flowers in various sizes and hues to add a delicate charm; string lights to infuse a sense of enchantment; balloons to craft garlands or majestic arches that draw attention; streamers to inject movement and texture into your design; and foam boards to create custom shapes and letters that make a statement.
Step 3: Plan Your Layout
To ensure a seamless and stress-free backdrop assembly process, it’s crucial to take a moment to plan out your layout beforehand. This simple step can help you visualize the final product, making it easier to identify any potential issues or areas for improvement. Set aside a large, flat surface – such as a table or a cleared floor area – and use it to lay out all your materials.
As you arrange your supplies, take a step back, and consider how each element will work together to create the desired visual effect.
Step 4: Assemble Your Backdrop
It’s time to bring your design together by assembling the various elements that will make up your backdrop. Begin with the larger components, such as furniture or structures, and then fill in any gaps with smaller details like decorative items or accessories. Don’t be hesitant to try out different arrangements until you’ve achieved a look that you’re satisfied with.
As you work on this process, remember to step back periodically to appreciate how your design is taking shape and make adjustments accordingly.
Step 5: Secure Your Backdrop
To guarantee a professional-looking setup, make sure your backdrop is properly secured. If it’s intended for outdoor use or will be hung from above, employ sturdy fastening methods such as strong tape, clamps, or a dedicated backdrop stand to prevent any movement or damage. This attention to detail will help you achieve the desired aesthetic and ensure your photo shoot runs smoothly.
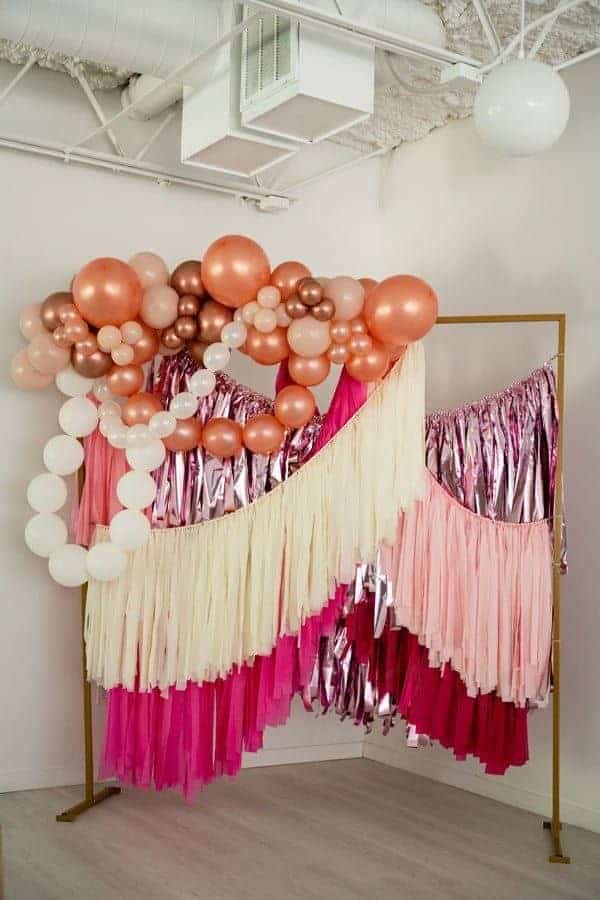
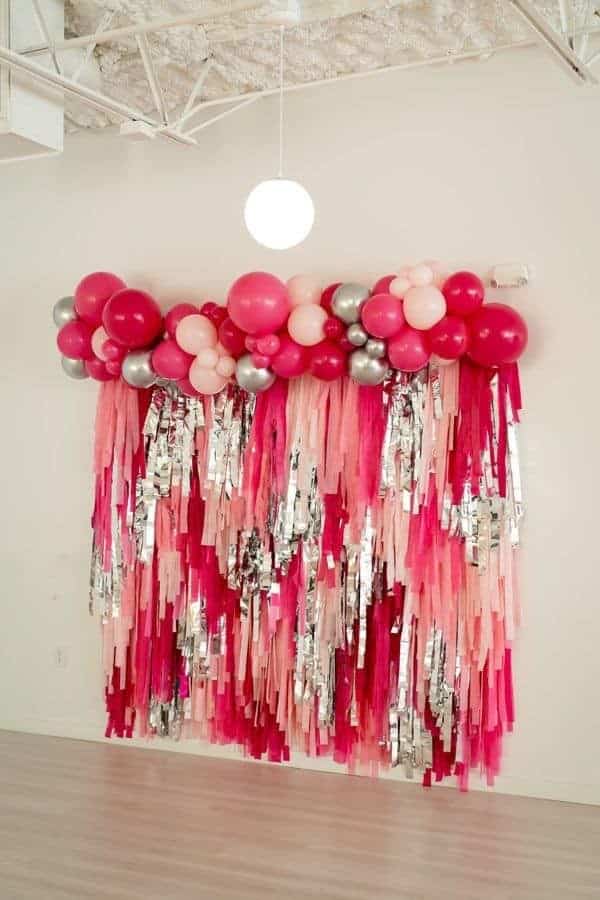
01 | BALLOON GARLANDS & STREAMING TASSELS
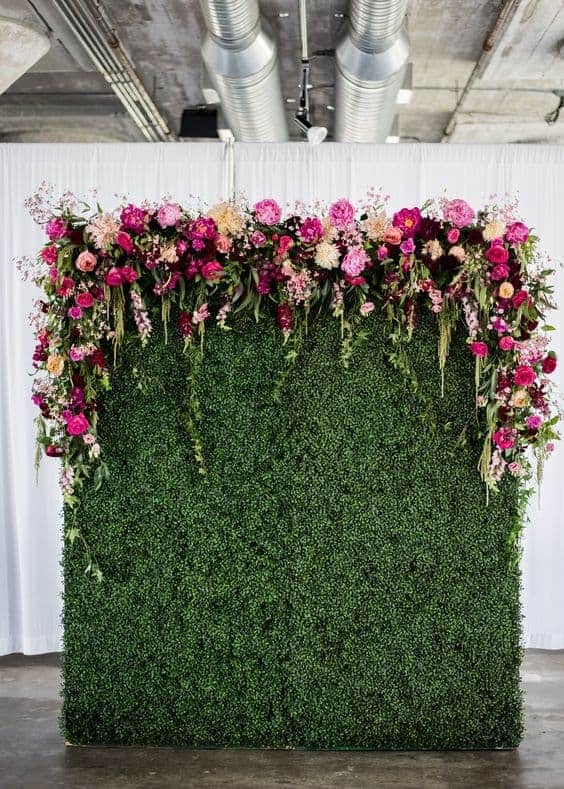
02 | GARDEN WALL
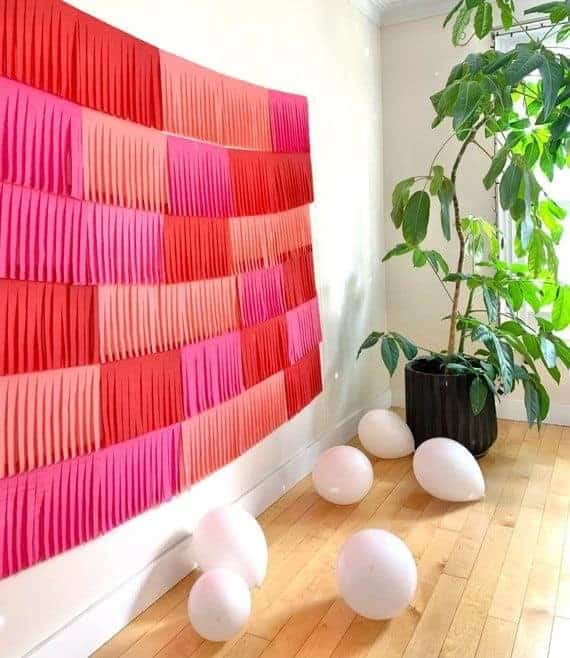
03 | TWISTED STREAMERS

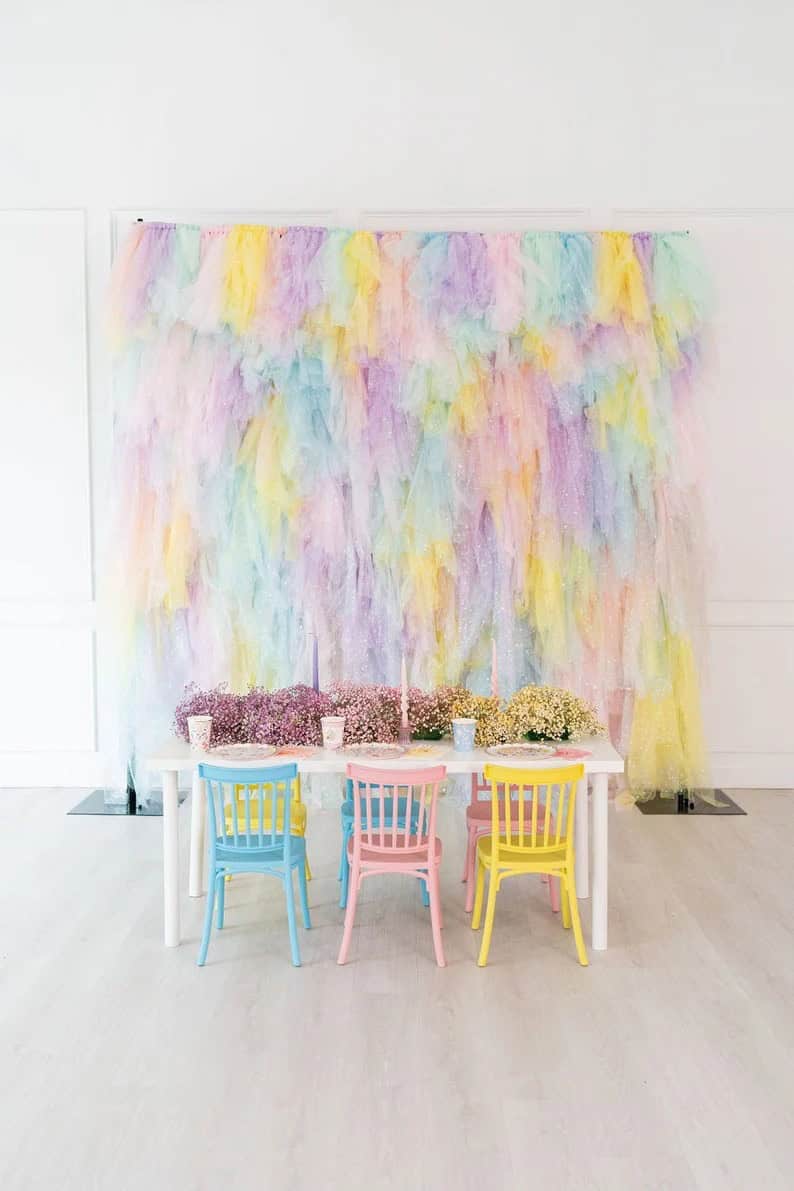
04 | PASTEL TULLE
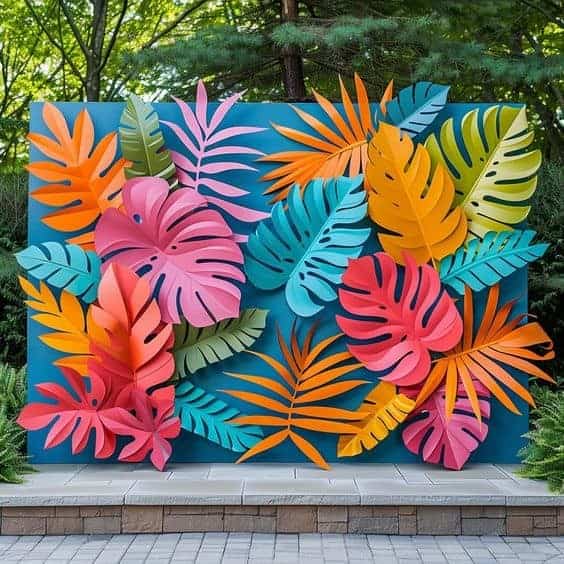
05 | GIANT TROPICAL LEAVES
06 | BALLOONS & STREAMERS
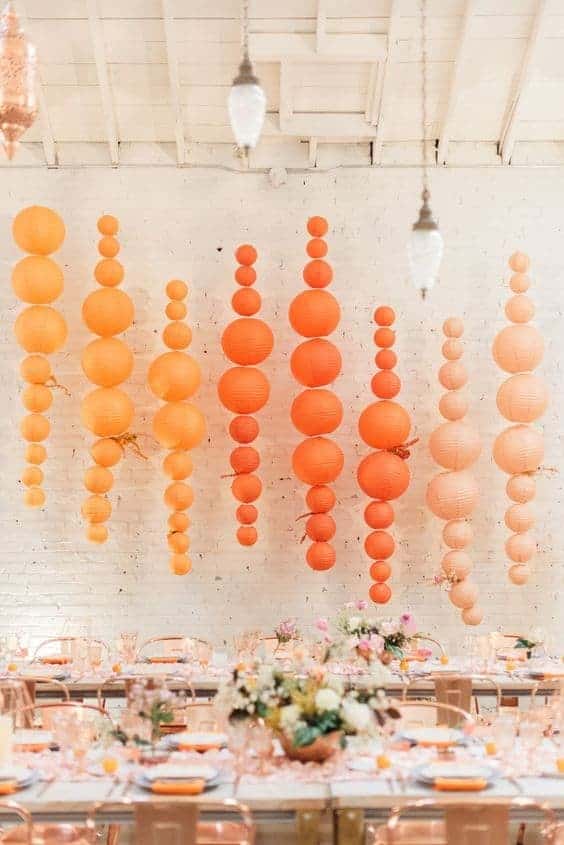
07 | PAPER LANTERNS
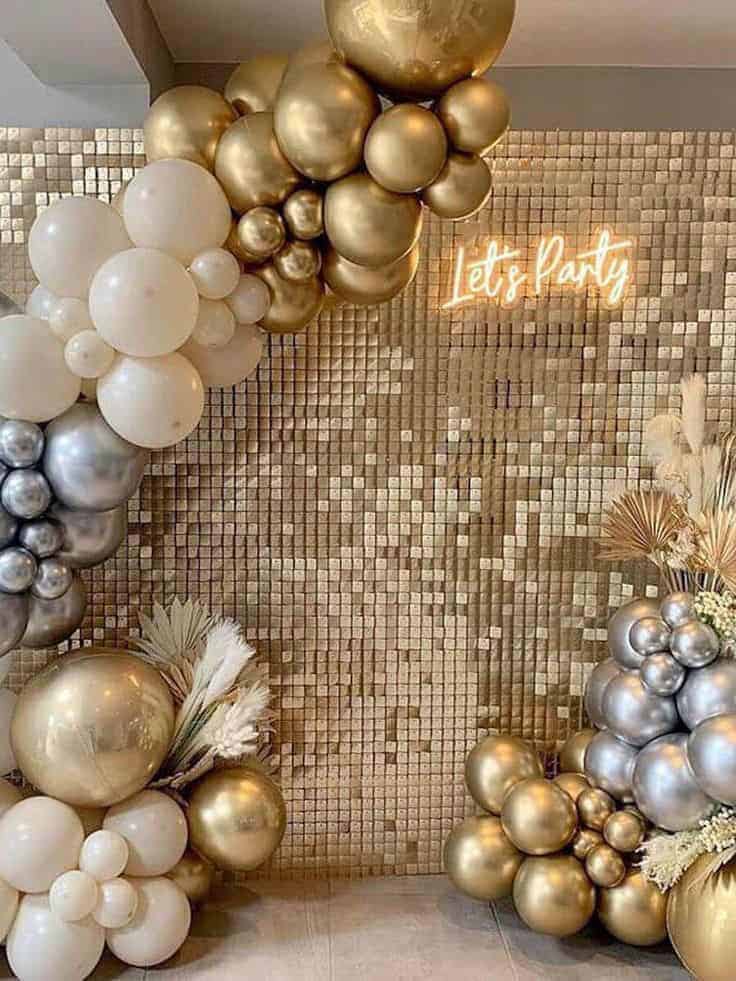
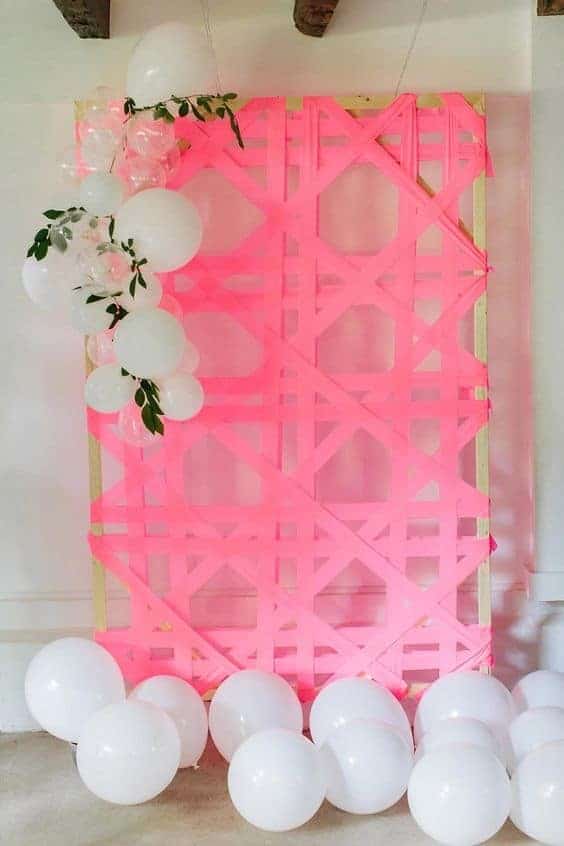
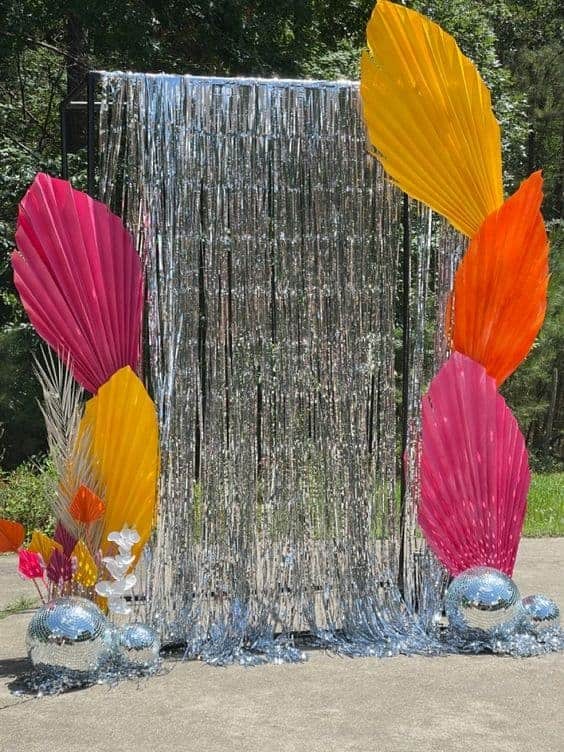
08 | SHIMMERING BACKDROP
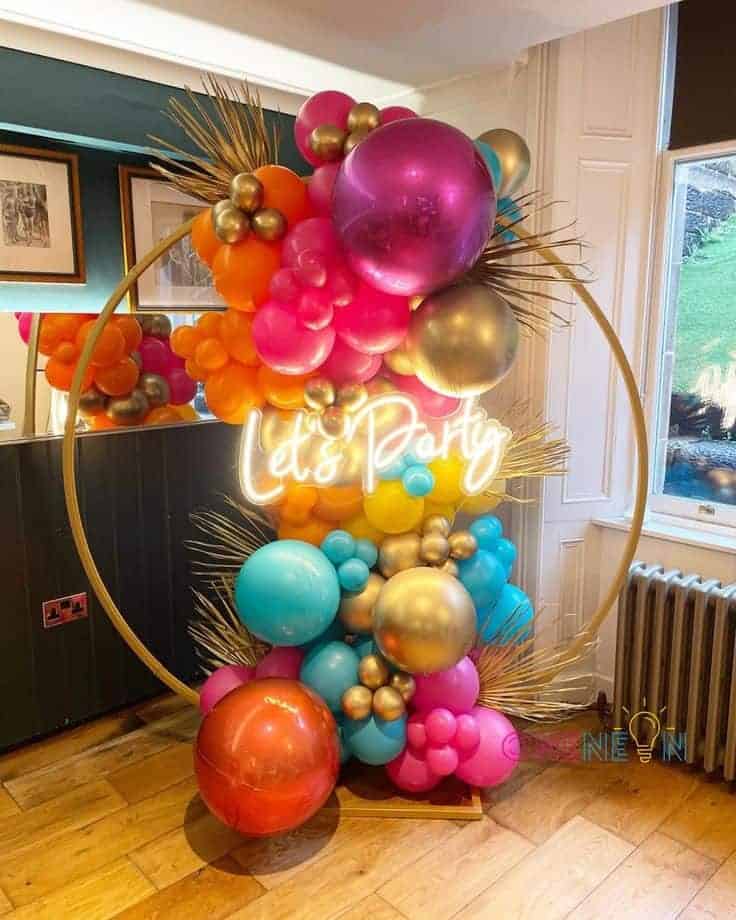
09 | LET’S PARTY HALO
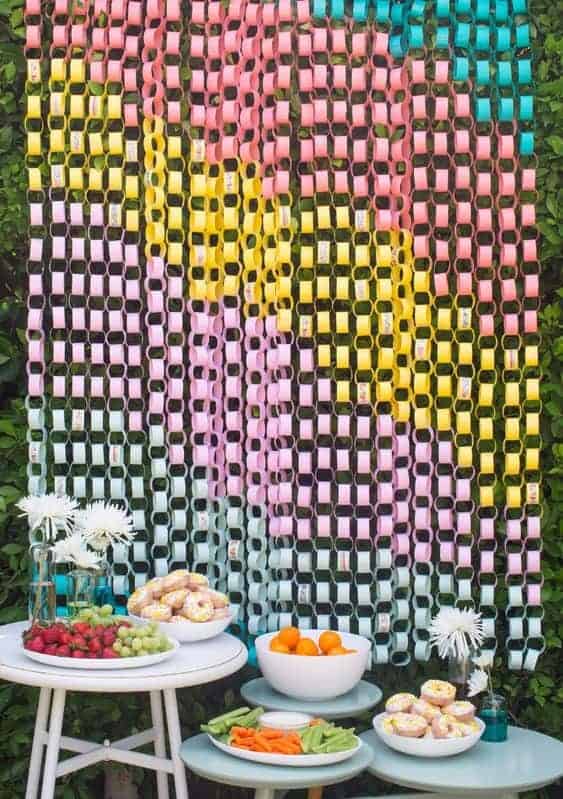
10 | PAPER CHAINS
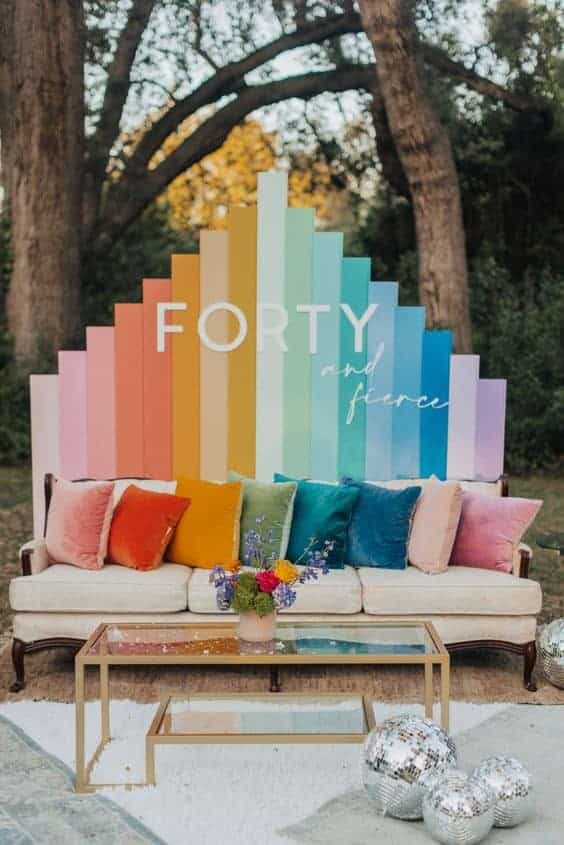
11 | ART DECO BACKDROP
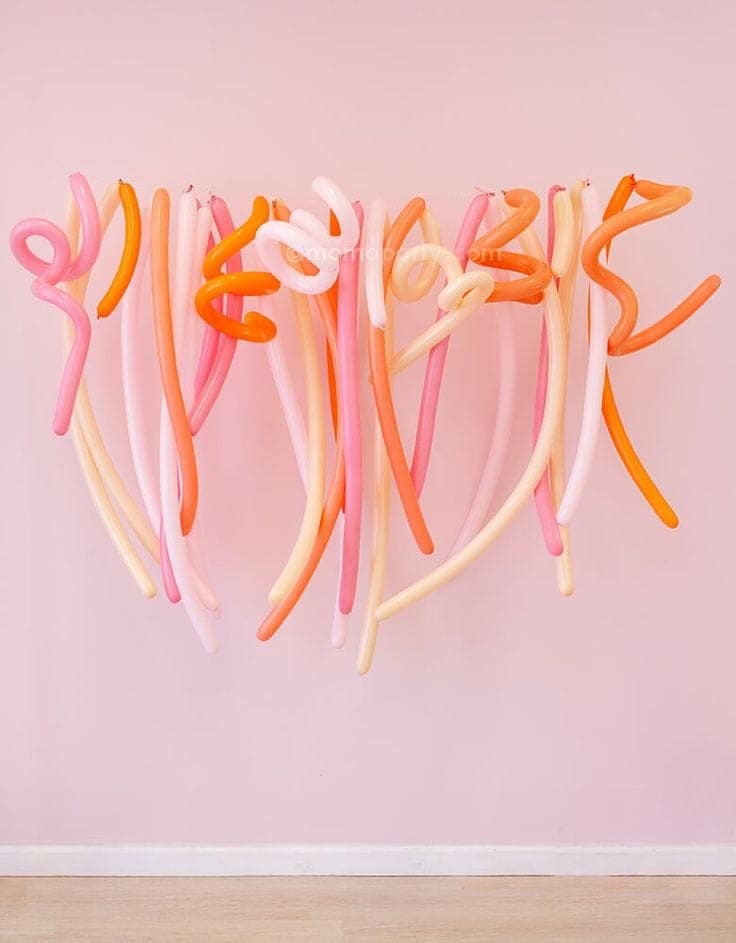
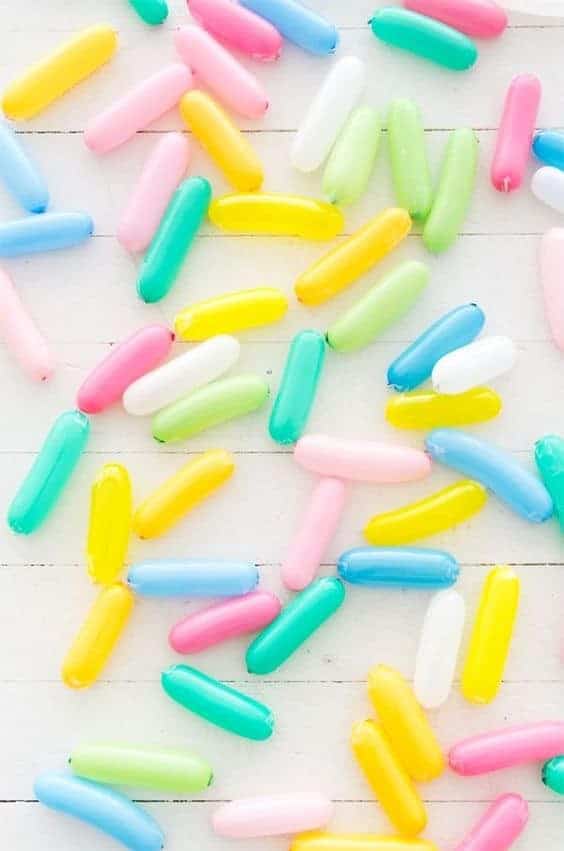
12 | LONG BALLOONS
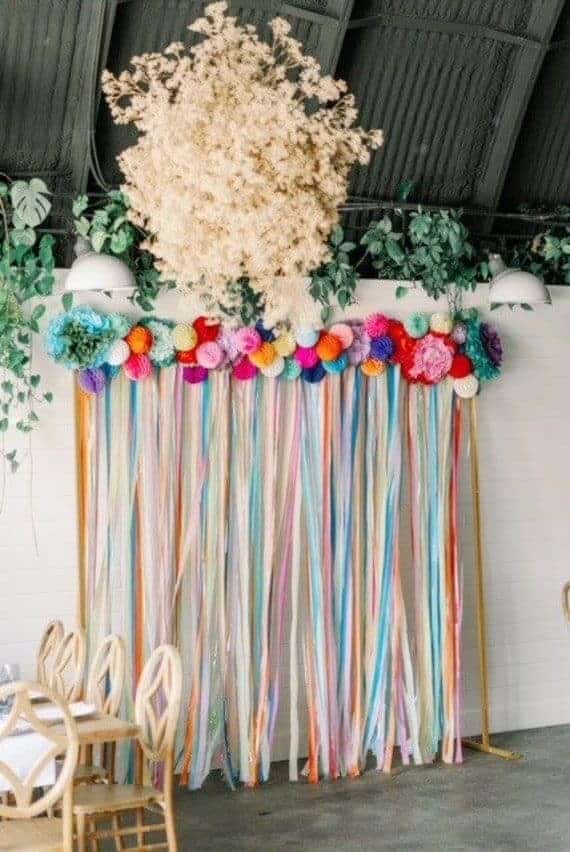
13 | RIBBON PATTERN
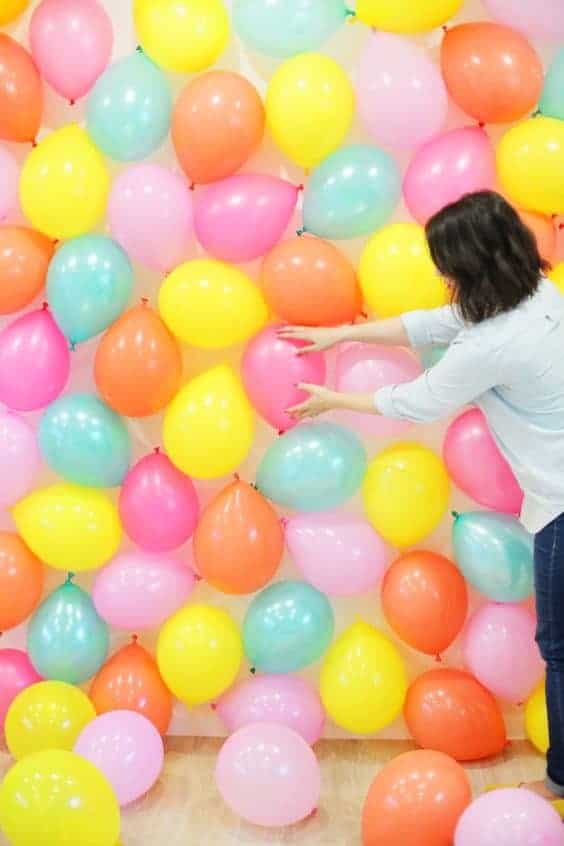
14 | BALLOON BACKDROP
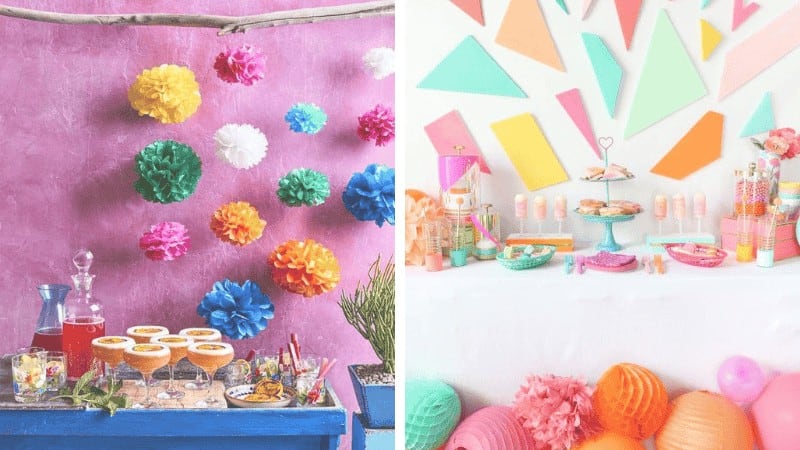
15 | TISSUE POM POMS & STREAMERS
You might also like…
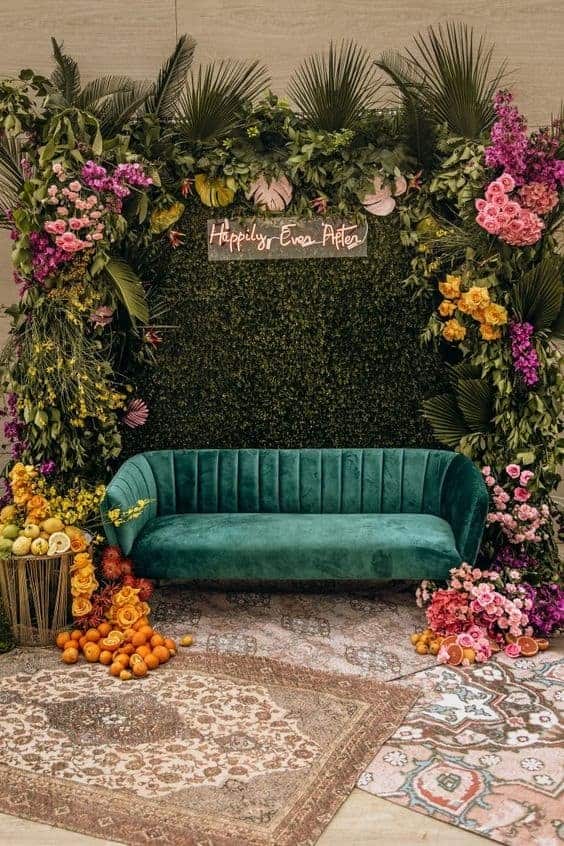
16 | LIVING TROPICAL WALL
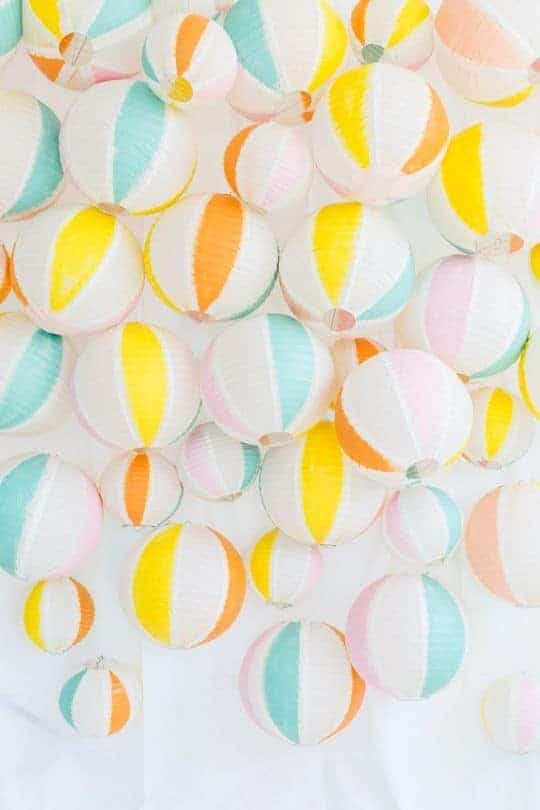
17 | BEACH BALL LANTERNS
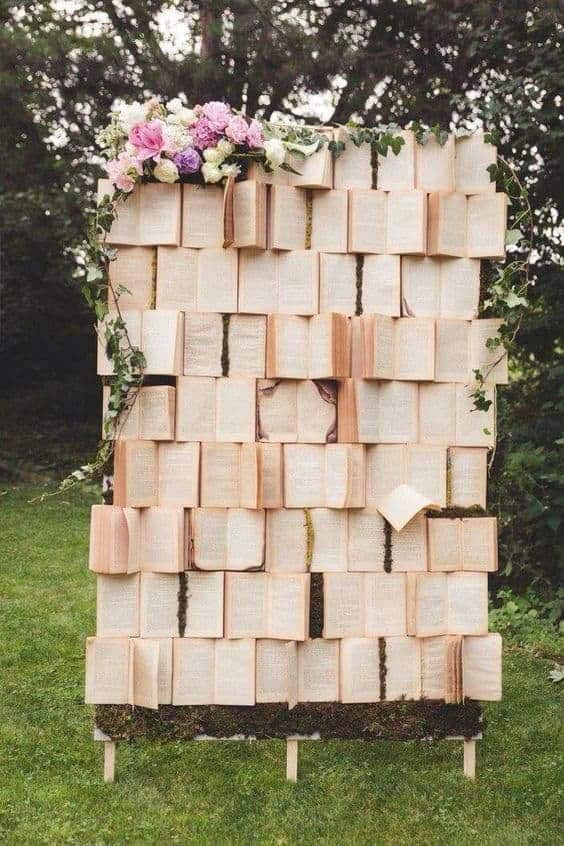
18 | BOOK WALL
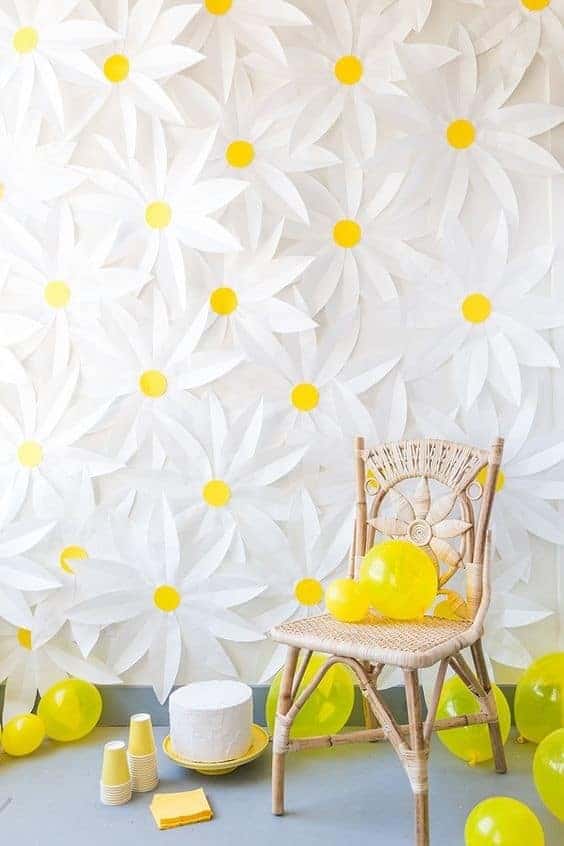
19 | SEEING DAISIES
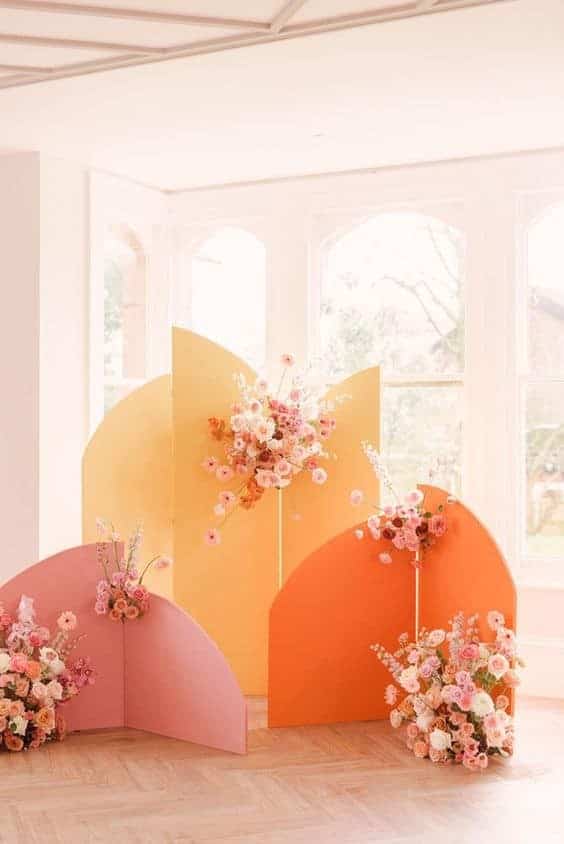
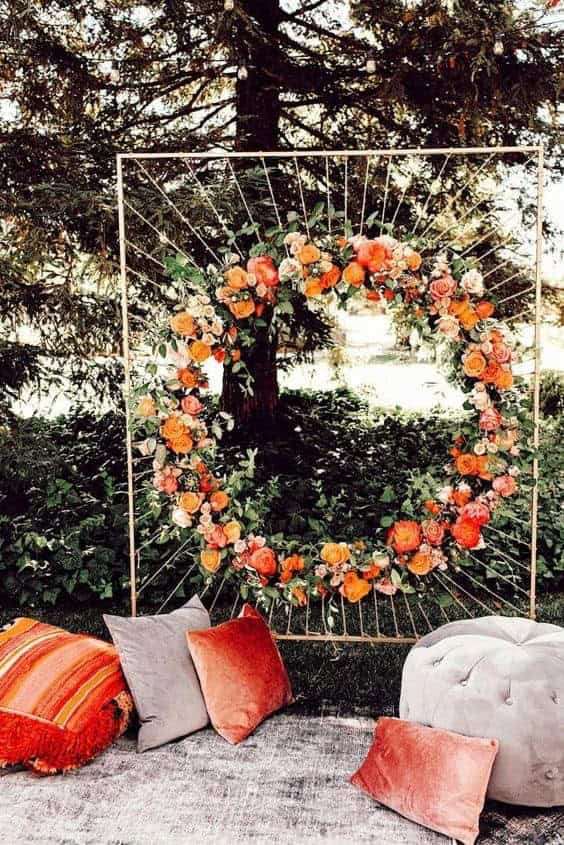
20 | ARCHED
21 | GIANT BALLOON SPRINKLES
22 | FLOWER PHOTO WALL
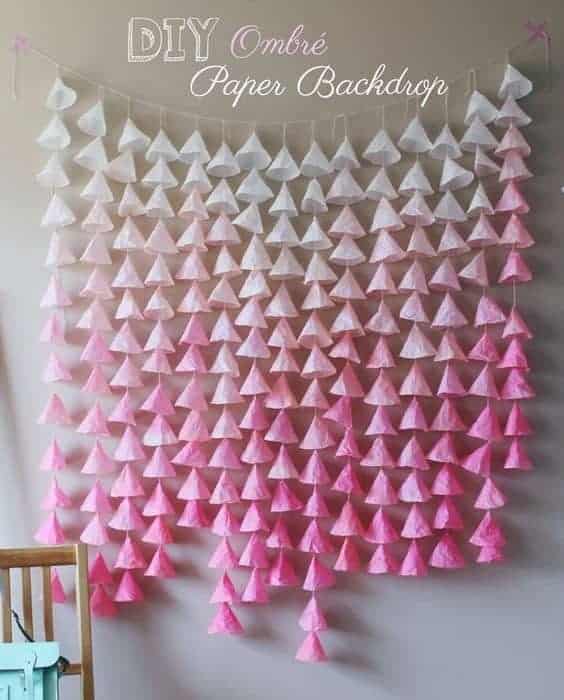
23 | OMBRE PAPER BACKDROP
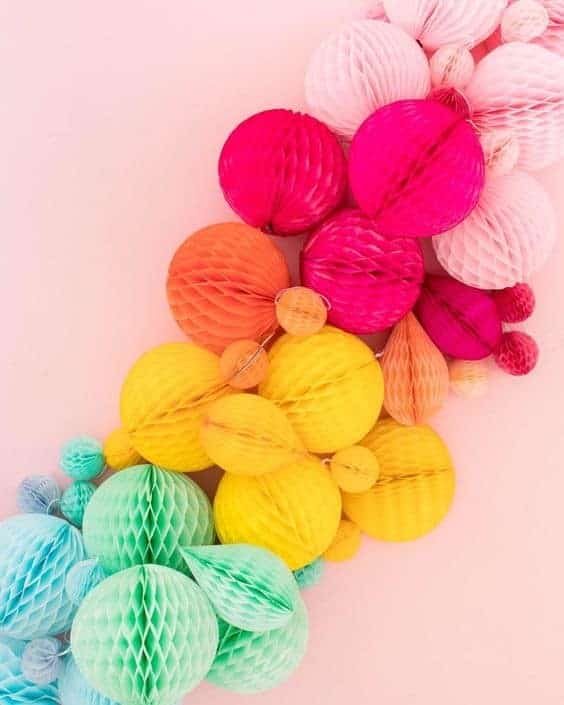
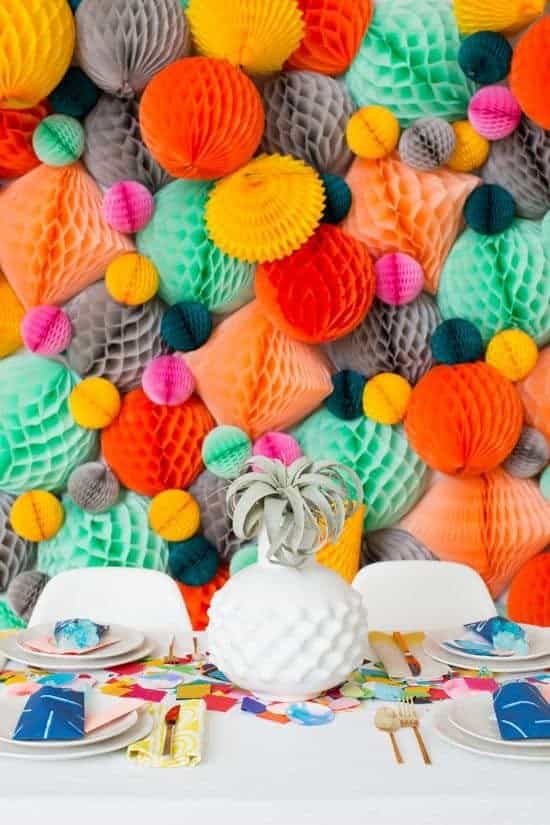
24 | RAINBOW PAPER HONEYCOMBS
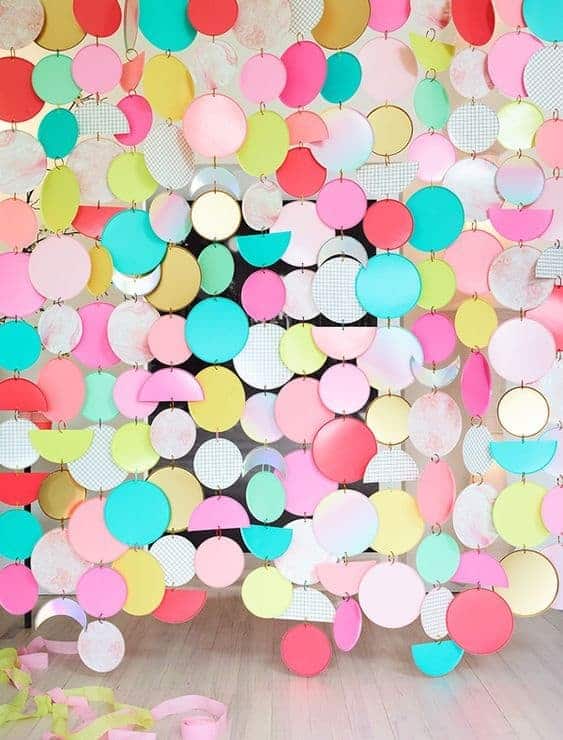
25 | COLORFUL PAPER PLATES
26 | MIX & MATCH PAPER HONEYCOMBS
27 | STREAMER FLAGS
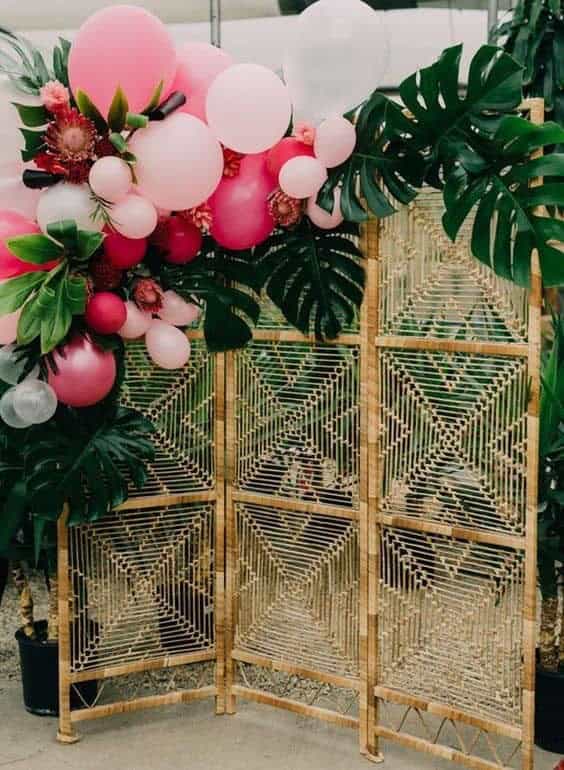
28 | TROPICAL GLAM SCREEN
29 | TINSEL & PAPER PALM FRONDS
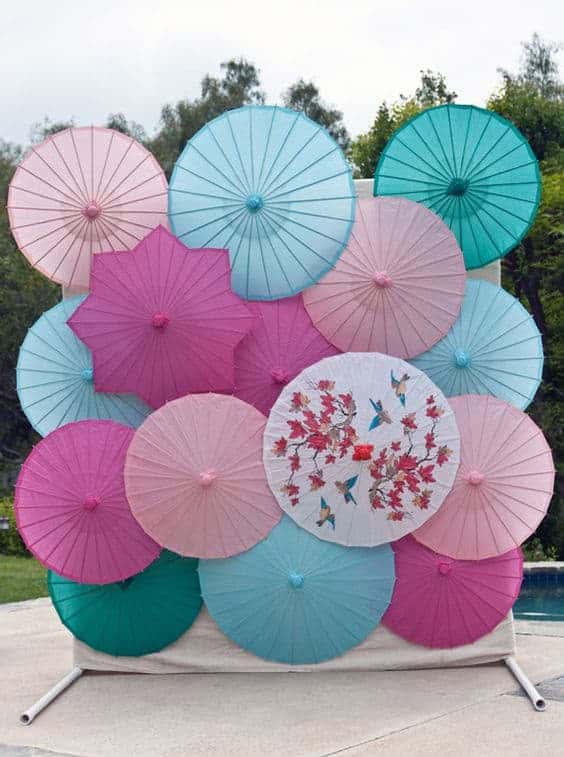
30 | UMBRELLAS


Transforming an ordinary event space into an extraordinary celebration is just a DIY project away. By creating your own party backdrop, you not only add a personal touch but also save money and have a blast doing it. With a dash of creativity and a pinch of effort, any space can be transformed into a truly magical setting that will leave your guests spellbound. To get started, gather your materials and embark on the journey to craft the backdrop of your dreams.
As you bring your vision to life, remember that the most important ingredient is having fun.